哥斯拉主题 Berry 键帽体验
说明
以下的 nSA 键帽指的是 Nuphy 原装的键帽,而 Berry 键帽指的是指尖文创和 Nuphy 联名的哥斯拉主题矮轴键帽。注明这一点是因为有可能我的体验只适用于特定的键帽,我没买过其他键帽不好评价。
评价
和我之前的主力键盘的合照:
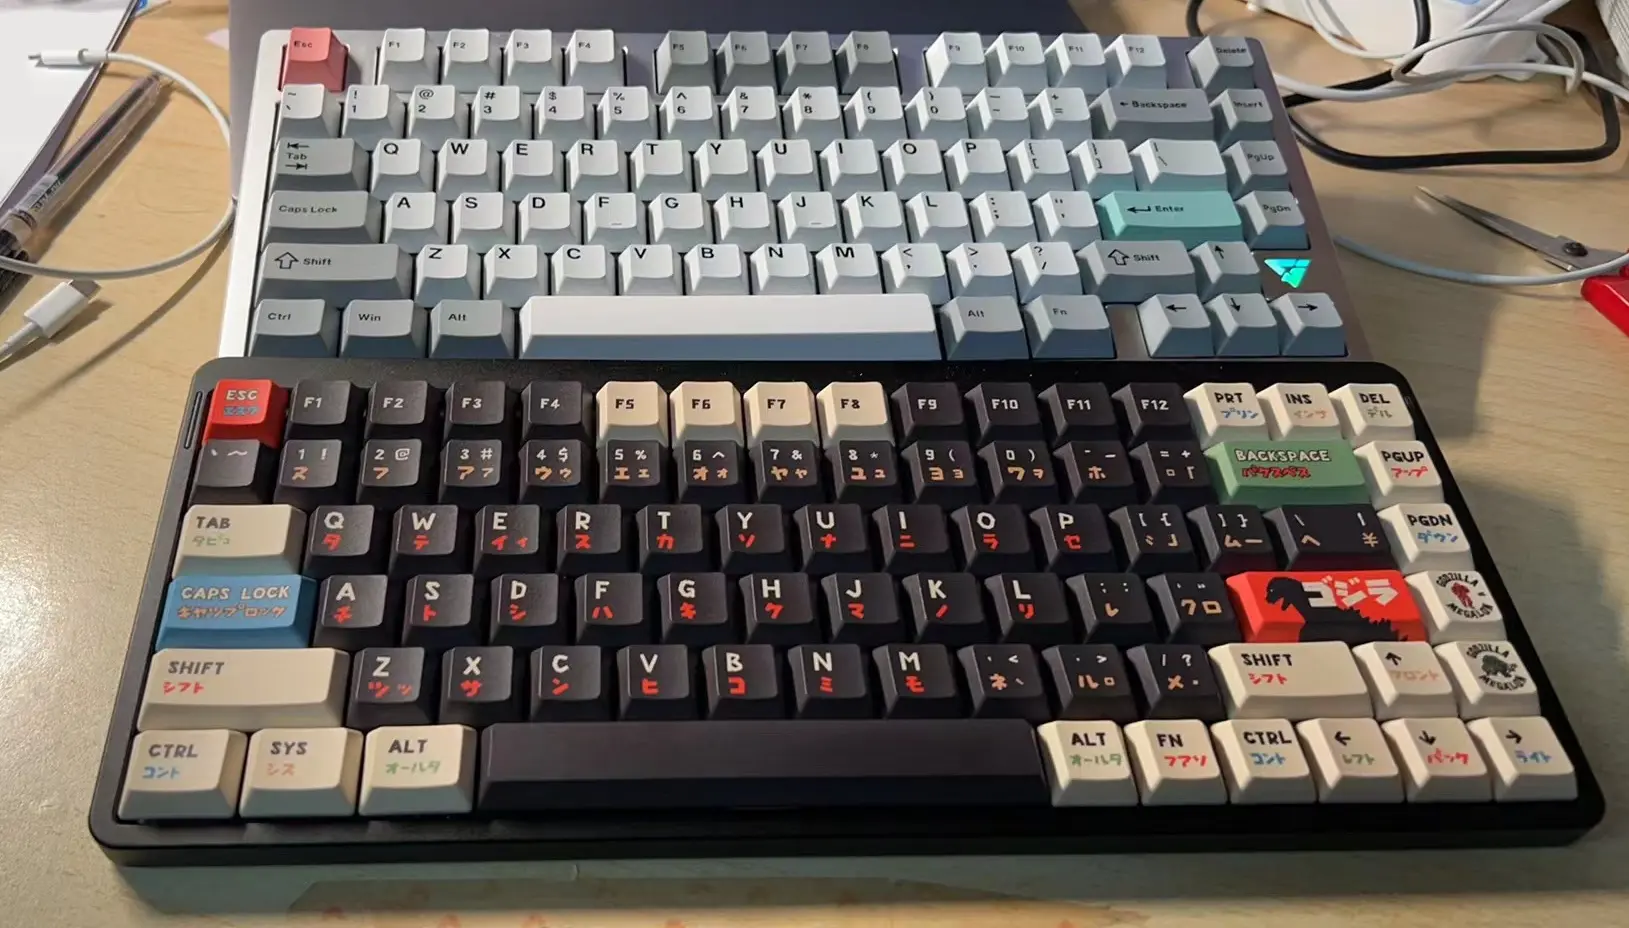
新的 Berry 键帽和 nSA 原装键帽比:
- 虽然参数上写的没有高多少,但实际上感觉还是高了很多。
- nSA 太低,小脚撑开上就差不多了,开大脚撑手感反而怪怪的。Berry 键帽设计有坡度,下面高一点,利好大脚撑。
- 声音变得更加脆响。不好听,duang duang duang 地响。一是因为按压之后键帽更靠下一点(从侧面可以看到),可能撞到键盘下面的结构了?二是键帽刚按下的时候就感觉会发出声音,但是 nSA 键帽就好很多。
- 形状变了,按压也更费力了。声音和手感变差可能是因为键帽的卡口变得更深,卡得更紧导致的。
- 空格有点漏轴。 而且空格键帽敲击的声音非常大。空格是声音差异最为明显的一个键,敲起来有不协调感。如果说其他按键敲起来只是有点不舒服之外,空格敲起来可以用毛骨悚然来形容了。
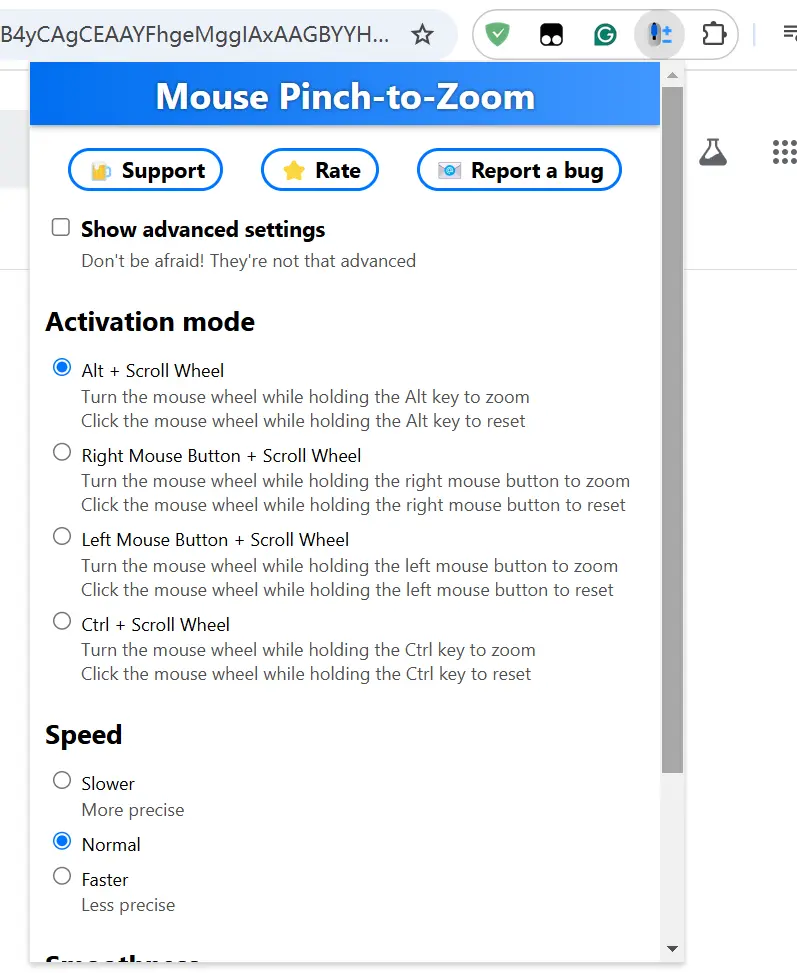
- 上面没有标识快捷键图案,不过我平时用的也少,只记住了音量键加减的键位。
5. 内存模型基础、标准原子类型、自旋锁
内存模型基础:对象和 内存位置
书上给出了 4 点:
- 每个变量都是对象,包括对象中的成员。
- 每个对象有至少一个内存位置。
- 每个基本类型(
int/char, …)刚好占用一个内存位置。 - 连续位域是同一个内存位置的一部分。
一个标量类型,或者非 0 宽的连续位域构成一个 memory location。
struct S
{
    char a;     // memory location #1
    int b : 5;  // memory location #2
    int c : 11, // memory location #2 (continued)
          : 0,
        d : 8;  // memory location #3
    struct
    {
        int ee : 8; // memory location #4
    } e;
} obj; // The object “obj” consists of 4 separate memory locations
可以参考 https://timsong-cpp.github.io/cppwp/n4868/basic.memobj ,这里有讲内存模型、对象模型、生命周期。
联想小新睡眠唤醒后 ctrl 按键一直被按下
联想小新睡眠唤醒后 ctrl 按键一直被按下,完全没办法正常使用键盘,打字打不出来,每个字母按键都像是被 ctrl 修饰。按 esc + shift 不能启动任务管理器,但是按 esc + shift + ctrl 能,这很奇怪,又不完全是 ctrl 被按下。我的解决方式一直都是重启电脑,终于忍不住了,今天晚上花了很久去搜索相关资料。
这里有一篇类似问题的博客: https://www.zsbbo.com/bbo/70.html 。
另外在 superuser 上面有相关的问答: https://superuser.com/a/1243900/ 。
Q: Control key acts as if it is stuck periodically
A: Generic fix for this generic issue: (1) press stuck key or Ctrl+Alt+Del, (2) Esc.
从回答中来看,可能是驱动等问题导致 Windows 没能检测到 ctrl 的释放,这种情况多见于笔记本。可以尝试的解决方案包括:
在 Tex Studio 中配置 SumatraPDF 为外部 PDF 预览器
同时使用正向和反向搜索可以参考: https://tex.stackexchange.com/questions/579313/sumatratexstudio-inverse-search-not-working ,具体是在 Tex Studio 的 External PDF Viewer 填上:
"C:\Program Files\SumatraPDF\SumatraPDF.exe" -reuse-instance -inverse-search '"C:\Program Files\TeXstudio\texstudio.exe" "%%f" -line %%l' -forward-search "?c:am.tex" @ "?am.pdf"
如果 SumatraPDF 已经启动,要关闭之后重新被 Tex Studio 打开才能使用逆向搜索,因为逆向搜索的命令行是写在 SumatraPDF 启动时的命令行参数中的。
如果确定只用 Tex Studio,直接在 SumatraPDF 的选项中指定逆向搜索的命令会更加方便:
"C:/Program Files/texstudio/texstudio.exe" "%f" -line %l
获取 ssh 中已知公钥的指纹
如何对齐 PyTorch 的除法运算?
过程
我遇到的情况是:a 为 64 位浮点数(FP64)标量,b 为 32 位浮点数(FP32)张量,要计算 a / b。
一种做法是:使用 1 / b * a 来代替 a / b。这样的结果看起来和 PyTorch 的计算是对齐的。
奇怪的是,在 aten/src/ATen/native/cuda/BinaryDivTrueKernel.cu 这个代码的判断条件中,只有分母是 CPU 上的标量时,才会将除法转换成乘法运算,而我的遇到的情况是分子是标量,分母是张量,不符合这个条件。代码:
namespace at::native {
namespace binary_internal {

CONSTEXPR_EXCEPT_WIN_CUDA char div_name[] = "div_kernel";
void div_true_kernel_cuda(TensorIteratorBase& iter) {
  auto common_dtype = iter.common_dtype();
  if (iter.common_dtype() == kComplexHalf) {
    // 省略
  }
  if (iter.is_cpu_scalar(2)) {
    // optimization for floating-point types: if the second operand is a CPU
    // scalar, compute a * reciprocal(b). Note that this may lose one bit of
    // precision compared to computing the division.
    AT_DISPATCH_FLOATING_AND_COMPLEX_TYPES_AND2(
        kHalf, kBFloat16, common_dtype, "div_true_cuda", [&]() {
          using opmath_t = at::opmath_type<scalar_t>;
          auto inv_b = opmath_t(1.0) / iter.scalar_value<opmath_t>(2);
          iter.remove_operand(2);
          gpu_kernel(
              iter,
              BUnaryFunctor<scalar_t, scalar_t, scalar_t, MulFunctor<opmath_t>>(
                  MulFunctor<opmath_t>(), inv_b));
        });
  } else {
    AT_DISPATCH_FLOATING_AND_COMPLEX_TYPES_AND2(
        kHalf, kBFloat16, common_dtype, "div_true_cuda", [&]() {
          DivFunctor<scalar_t> f;
          gpu_kernel_with_scalars(iter, f);
        });
  }
}
} // namespace binary_internal

REGISTER_DISPATCH(div_true_stub, &binary_internal::div_true_kernel_cuda);

} // namespace at::native
接下来是做了一些实验。(注意:因为有随机数,下面的结果每次都可能不一样,但是大致表现是相同的。一开始记录结果的时候忘记了固定随机数种子。)
用 cv2 或 Pillow 保存 numpy 格式图片
img = np.asarray(img)
if len(img.shape) == 4:
    assert img.shape[0] == 1
    img = img[0]
assert len(img.shape) == 3 and img.shape[0] in (1, 3)
img = img.transpose(1, 2, 0)  # to channels-last

#1
img = img[..., ::-1]  # RGB to BGR
img = (img * 255.0).astype(np.uint8)
img = np.ascontiguousarray(img)
assert cv2.imwrite("fused.jpg", img)

#2
## https://pytorch.org/vision/main/generated/torchvision.transforms.ToPILImage.html
## img.shape: (C x H x W) if img is torch.Tensor, (H x W x C) if img is np.ndarray.
# img = transforms.ToPILImage()(img)
# img.save('fused.jpg')
要么进行 RGB -> BGR、将 0~1 缩放到 0~255、转换到 np.uint8 类型、将数组转连续等操作,要么直接使用 torchvision 的 transforms 工具。
How to call "friends" properly?
开头
有一天看到类似这样的代码(隐藏了业务逻辑,对函数签名进行了简化):
#include <cstdio>

struct Foo {
    friend Foo max(Foo a, Foo b);
};

Foo max(Foo a, Foo b) {
    printf("friend max\n");
    return a;
}

Foo max(Foo a, Foo b, int x = 0) {
    printf("global max\n");
    return a;
}

int main(int argc, char **argv) {
    Foo a;
    Foo b;
    Foo c = max(a, b); // ambiguous
}
很明显无法编译:
error: call of overloaded 'max(Foo&, Foo&)' is ambiguous
   20 |     Foo c = max(a, b); // ambiguous
      |             ~~~^~~~~~
Tip
这个 max(Foo, Foo, int) 看起来有点奇怪,但是如果是 max(Foo, Foo, cudaStream_t),你可能就理解了。没理解也没关系,不影响阅读。